I volunteered to create the inspiration pages for the September month kit from Treasured Memories, I loved the entire kit & knew I needed to play around with it. The florals are gorgeous and the colors are rich & perfectly fall.
I created 6 pages with enough product left over to make 2-3 cards. All the product is from Simply Stated Design, a new company sold exclusively at Treasured Memories.
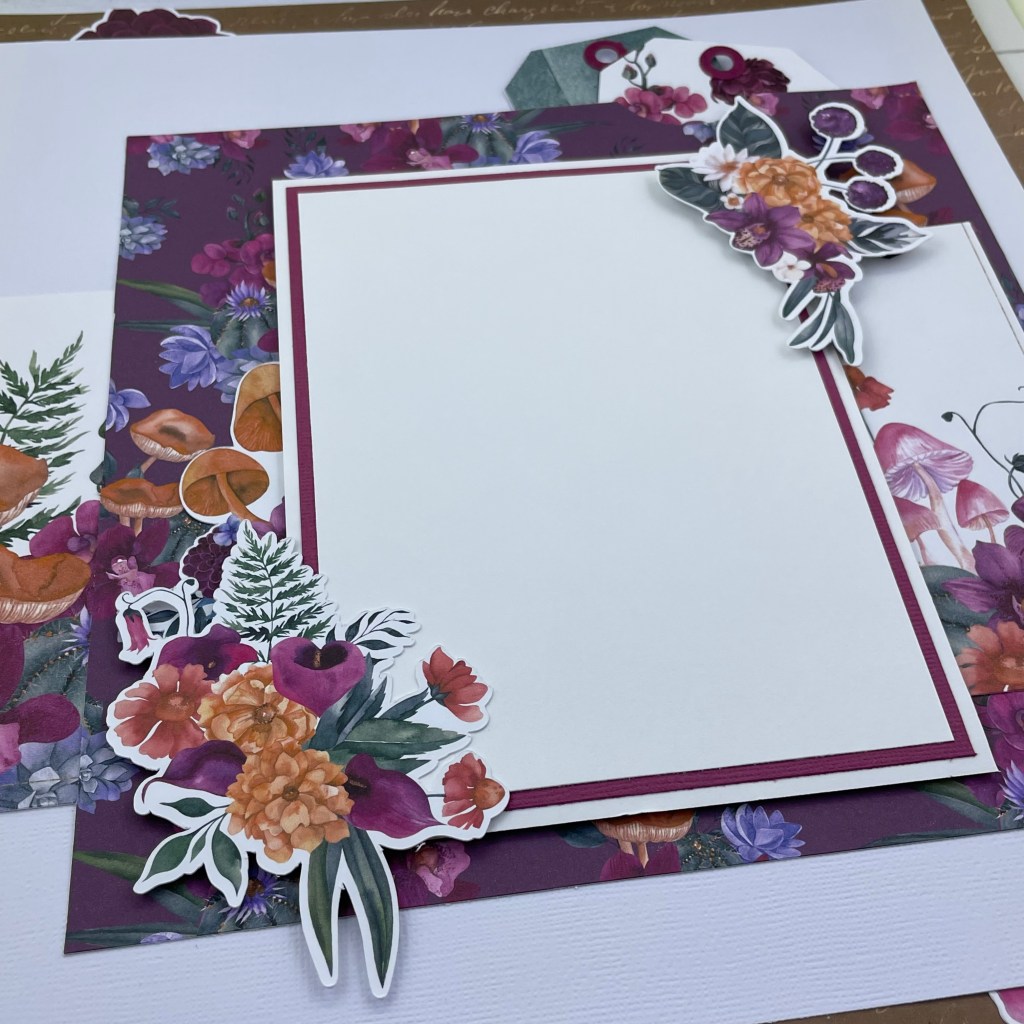
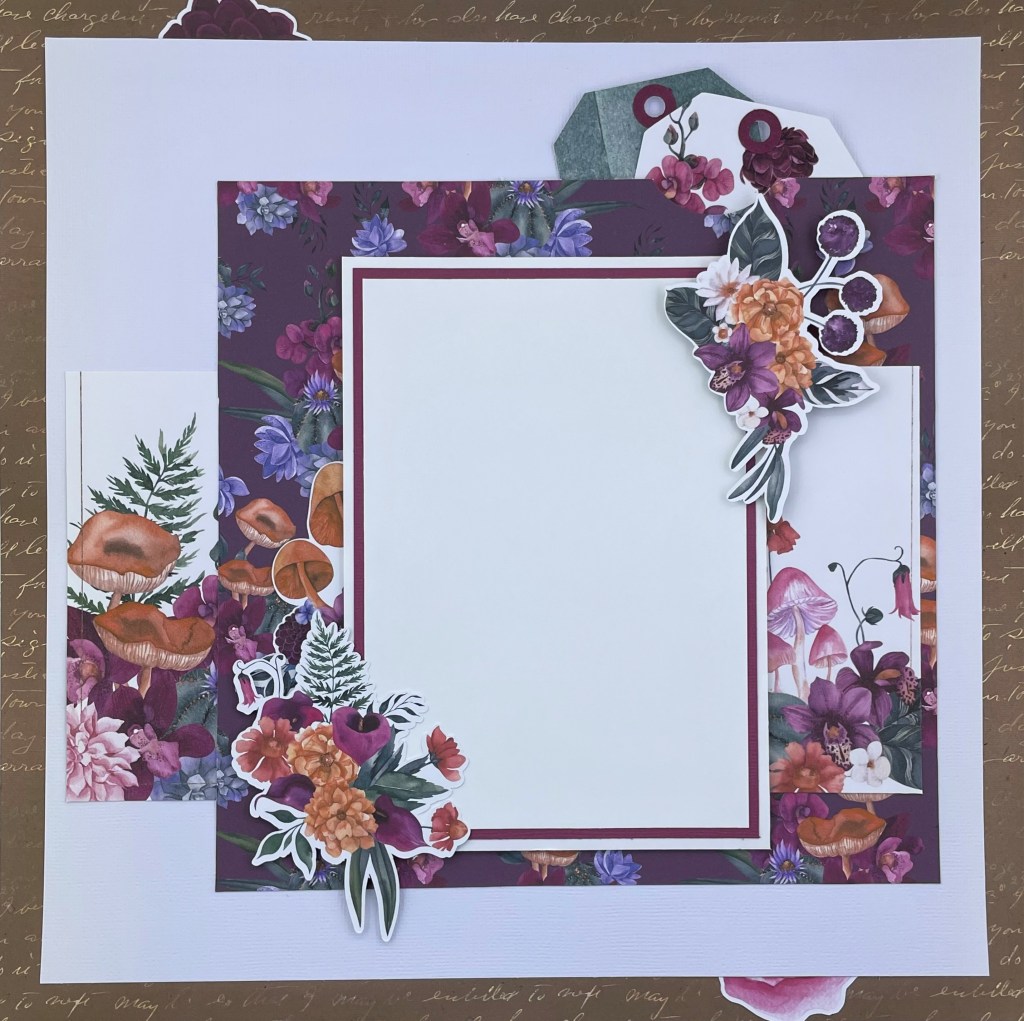
One of my favorite things about this page is the pocket created to hold the tags, this allows them to be functional instead of just there for embellishment.
This page could easily be transformed to use 2 smaller photos, I would lay them out side by side like you will see in the next layout.
Tidbit: making a pocket- See a step by step at the end of this post.

Tidbit: One tag came with the kit (less the reinforcement) and the other I created using left over pattern paper. To create a tag from a pattern paper piece: clip off the top 2 corners, clip off a small amount so you don’t end up with a peak at the top of your pattern paper, you want a tag, not a house. You can always go back and clip off more is it’s not enough. Add a reinforcement and punch a hole. The reinforcement is not necessary but does add a “finished” quality. I have a reinforcement punch from WRKM but I also use the white ones you find at any office supply store.


Tidbits 1: The “enjoy” is part of a larger quote but 1) it was too big & 2) it didn’t work for my page. Solution? Hide the part I didn’t need and use “enjoy” as a title or journaling prompt.
Tidbit 2: Another thing I tend to do is adhere my butterflies by adding a staple through the body. I like being able to pop up the wings for dimension. But won’t it just go flat in a page protector? Yes. But… before it goes into an album it might hang on display & the popped wings get their day in the spotlight.
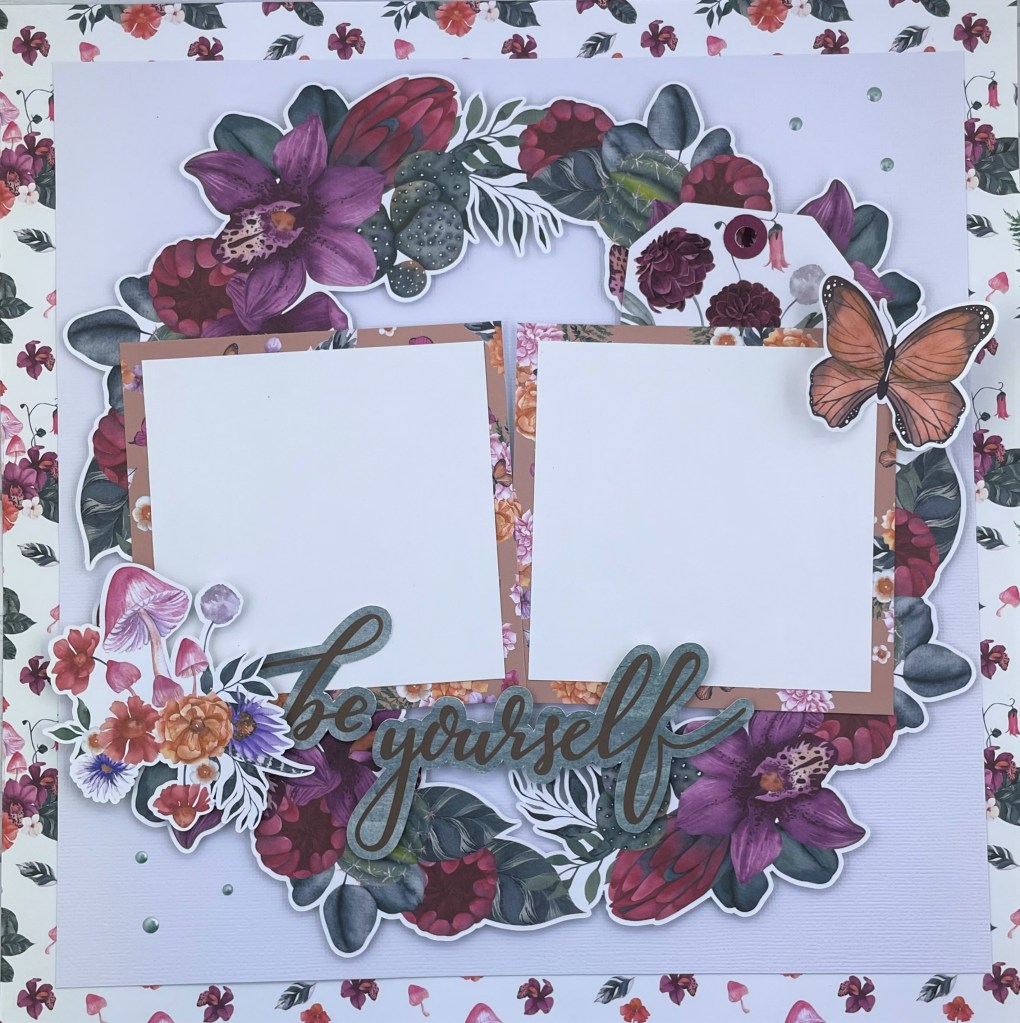
These wreaths are so gorgeous & I love working with them. While this one is from the kit, Treasured Memories has so many other beautiful wreaths to choose from. You can see the selection here.

Tidbit 1: 3D FOAM! I go through so much 3D foam, I love popping up pieces all over my work, for adding dimension & for layering. I popped the whole wreath off my page, it took quite a bit of foam but I think it looks so much better up off the page. When working with a piece this big, I recommend using a roll of foam instead of a sheet with individual squares or circles.
Tidbit 2: The enamel dots were created by using Nuvo Crystal Drops in “Neptune”, I love this because I can get the size, color & quantity I need every time. This product comes in a large range of colors and lasts quite a long time. I have had mine for at least a year and it has not started to dry up.
Tidbit 3: The tag sits in a hidden pocket behind the photo. It was created in the same manner (less the punched half circle) as the one I spoke about on the first layout above, step by step seen below.
Creating A Pocket
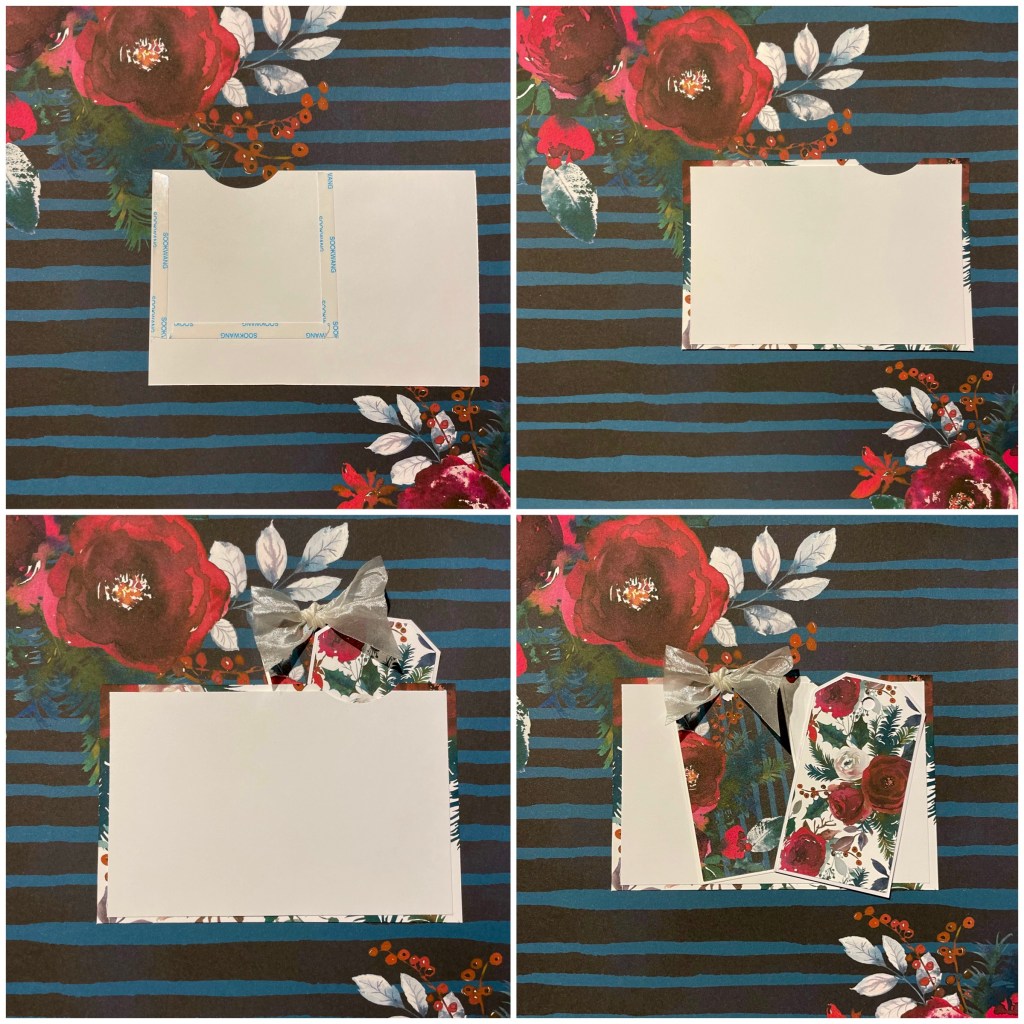
There are many ways to incorporate a pocket on a layout, this is the way I do it. It’s fast & easy to do and doesn’t require much. You need a circle punch and a strip adhesive, I recommend Scor-Tape because it doesn’t come off… ever.
- Punch a half circle where you want the pocket, this doesn’t have to be done but I like that it indicates an opening.
- Add Scor-Tape to the backside to shape your pocket, add any adhesive around the rest of your paper piece.
- Add to your project, in my case it usually a layout.
- Add your elements to your pocket.
Thanks for being here & happy creating!
♥ Nadine-

Everything looks beautiful ! I love the hidden pocket technique! TFS your trick 💛💛💛
LikeLiked by 1 person
Thank you sweet friend! ♥
LikeLiked by 1 person