
I was the page designer for the February month kit from Treasured Memoires. Chantel put together a beautiful kit that was themed for Valentine’s Day, you can see the kit contents here. I designed 6 layouts with only 2 of them actually being Valentine’s pages. I wanted to show that you can take something like a themed kit and use it for anything. I made a birthday page, a summer holiday, father daughter & a family page.

The floral cut file here started out as a wreath but that didn’t work out for what I wanted. Instead, I cut it in half and used one half above and the other below. To adhere a thin piece like this I use a Zig Squeeze & Roll glue pen.
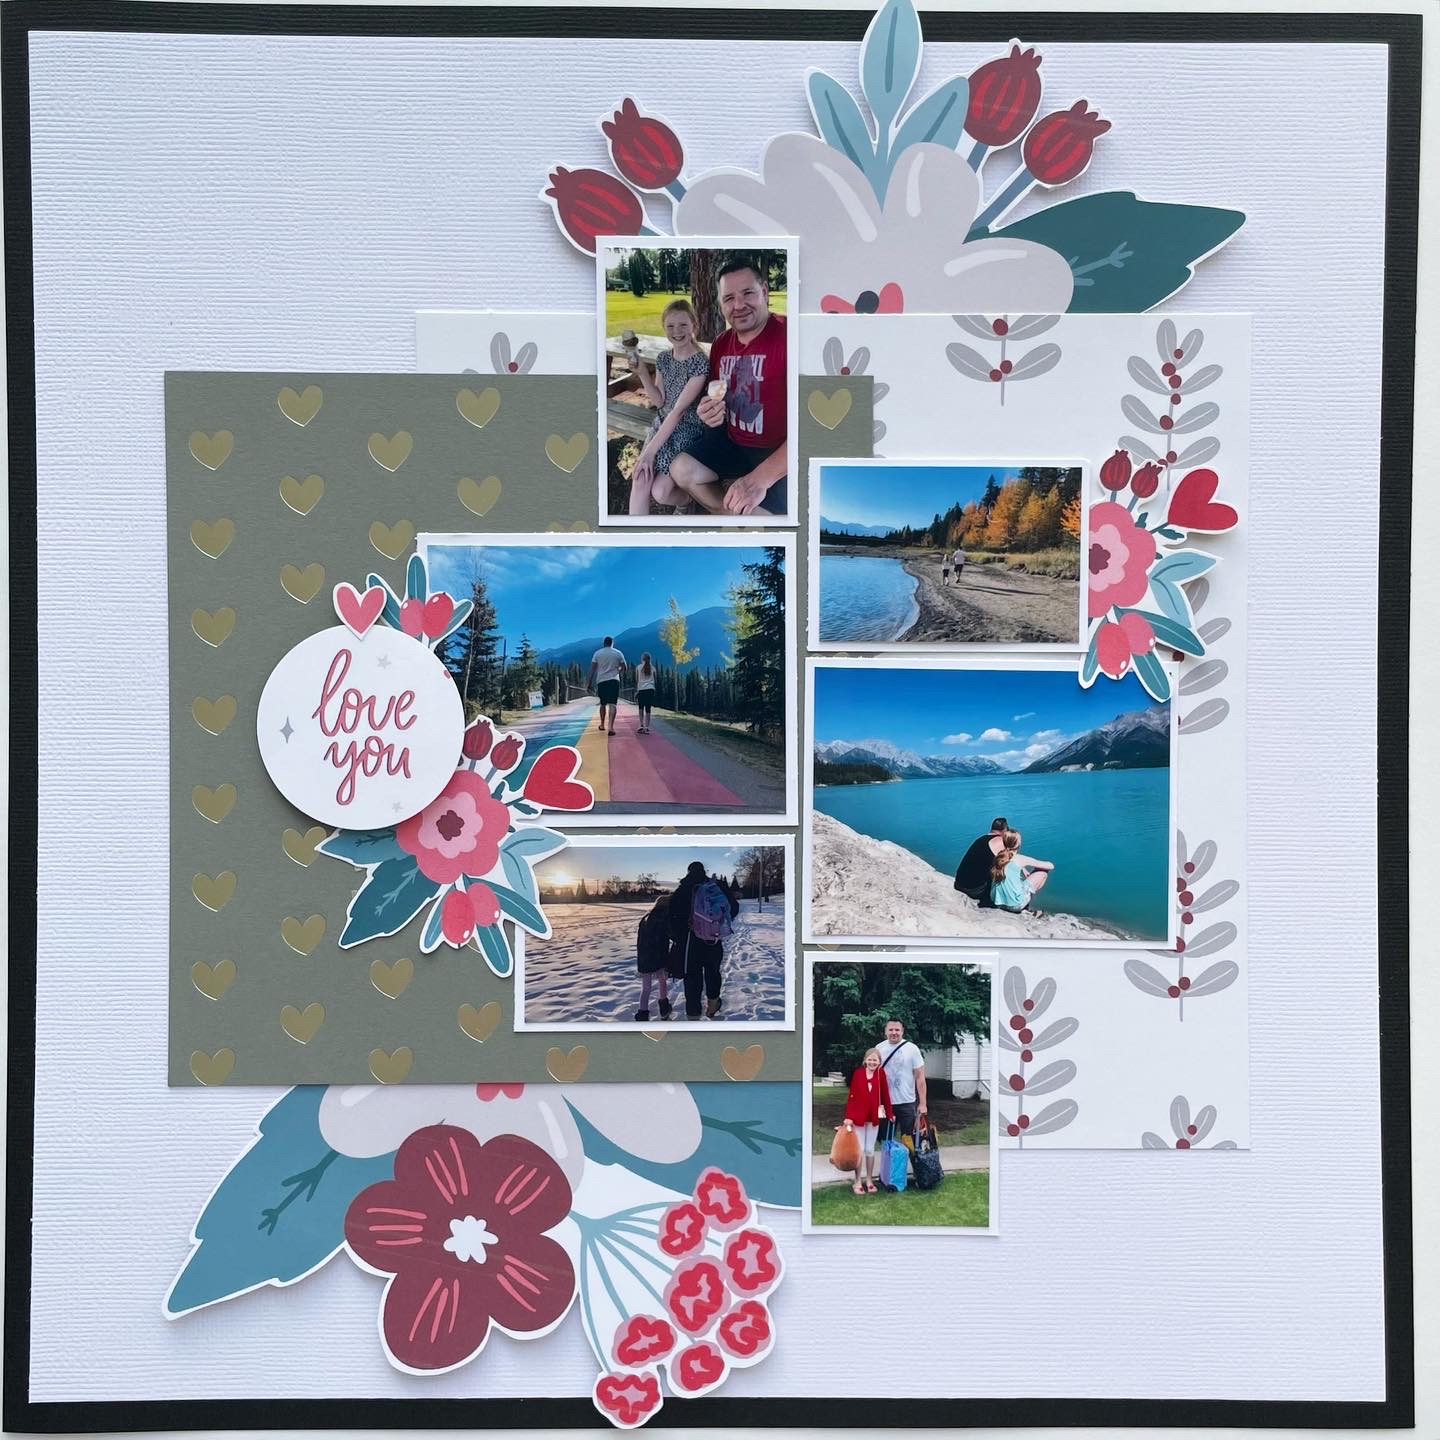
 This heart is so simple and creates big impact. I cut 2×2 squares in half diagonally and then put them together to make the heart background. If I had done some pre planning I could have cut each 2×2 so that the image was facing in the right direction. Spoiler: I’m not much of a planner when it comes to creating pages.
I print my photos in various sizes using my Canon Selphy (CP1300). I love this printer because I print wirelessly from my phone, the Selphy app allows me to make collages and then I cut the images apart for use on my projects (or leave as a whole photo as you’ll see on the next layout). The images work out to be about $0.40 a piece but I can typically get 3-4 images on one 4×6.

The photos on this page were taken with the Snapchat app, this app for all it’s faults has some pretty fabulous filters for your photos. I save the image and send it to the printer with the Selphy app.

I backed the cut file here by tracing each letter onto pattern paper and then cutting out and adhering the pattern paper to the back of the cut file. The background was created by adding a black spray and then splattering pink spray. (Take the top off your spray bottle and tap the tube to leave the droplets.) The enamel dots in the top right & bottom left were created using Nuvo Crystal Drops. While I also love a pre packaged enamel dot, the Nuvo Dots allow you to create dots in various sizes and in a large assortment of colors. Here is a helpful tutorial on how to back a cut file, she shows many ways and the one I typically use can be found at the 8:50 mark in the video.
Thanks for joining me,
xo Nadine

What a good job you did to show the versatility of the kit ! I love the family page cause ya’ all are just so cute ! ❤
LikeLiked by 1 person
These are all SO beautiful! I love all the different sizes of photos. And I didn’t even notice the papers weren’t “right side up” on the heart page.
LikeLike